Do you want to know how to use a tattoo gun like a pro? Well, I am one and I will teach you everything you need to know about tattoos!
But before reading any of this, make sure that you’ve fully understood how to put together a tattoo gun so that you’ll avoid any problems ahead.
Here is a comprehensive guide on how to use a tattoo gun for beginners. Read and learn!
Table of Contents
How to Use a Tattoo Gun? — 7 Simple Steps To Follow
Step 1: Understand Your Kit

Before you learn how to use a tattoo gun, you should know your kit. Your starter kit has basic essentials that allow for a smooth tattooing process. The kit consists of:
- Tattoo needles.
- Armature bar to control the tattoo needles.
- Electromagnetic coils to control the armature bars.
- Tattoo gun — you can have several depending on your tattoo kit.
- Tattoo pens.
- Ink.
- Latex gloves.
Make sure to check our list of good tattoo machines for beginners.
Step 2: Organize and Set Up Your Tattoo Equipment
If this is your first time using a tattoo gun, it’s normal to feel confused as you set up your kit. Make sure you put all the tattoo equipment in front of you.
This helps you view all the things you need and allows you to assemble more correctly.
Start by checking the tattoo machine [1]. You will find a contact screw and a front spring underneath it. The distance between the two should be the same as the thickness of a coin.
The gap between the two helps control the tattoo lines to get amazing tattoos. If the distance between the two is off, you end up getting bad tattoos.
The best way to correct the distance between the two is by turning the screw drive to decrease or increase the distance.
Step 3: Prepare the Tattoo Needles and Sterilize Them
Check your tattoo needles to ensure they are perfect for use. Tattoo needles with flaws cause bleeding, scarring and bad tattoos. You should never use them!
You should also inspect the needle tube where you will hold the tattoo machine.
Your tattoo needles should also be safe to use, so ensure they are sterilized. It is advisable to invest in an autoclave to help in disinfecting the needles.
Set up your autoclave to make it ready for the disinfection process. Pre-clean the tubes and needles by scrubbing with water and soap. Let them stay in hot soapy water for a few minutes.
Now place the tubes and needles in the autoclave basket and put them in the autoclave machine. Check that the water is between low and high levels marks. Then, turn the machine on.
Sterilize the needles and the tubes. Allow them to remain in the autoclave machine for one to two hours. However, check instructions on the machine for the specific time to sterilize the needles.
Watch this video to learn more about tattoo needles.
Step 4: Put Your Tattoo Machine Together
Start the assembly process by inserting the needles into the tube. The needle should fit well in the slot.
The needle’s eye loop should be turned to the left as you insert the armature bar nipple ring. This helps you insert the needle correctly. Failure to do this causes painful skin piercing without ink.
Set the right needle length, the distance between the needle and the needle tube. You need to tighten the screws for a firm grip. Allow a distance between 0.05 inches to 0.08 inches.
A great tip is to put a rubber band around the electromagnetic coils. This helps in stabilizing the needles, leading to the perfect application of tattoos.
ALSO CHECK: Microblading Machine Kit
Step 5: Connect to the Power Supply
You should invest in a digital or analog power supply. Ensure it is appropriately tuned and use the correct voltage depending on your tattoo machine.
The ideal voltage for your tattoo machine should be from 4 to 10 volts.
Other critical parts are the clip cord and foot switch. The clip cord connects your tattoo equipment with the power supply. You should buy them separately from your kit.
Make sure that the clip cord is connected to the bottom of your tattoo gun. Once you have set up everything well, you are ready to move on now.
Step 6: Test the Tattoo Machine

When you set and adjust all the components, test your tattoo gun. Test it on pears, apples or banana skin before using it on human skin.
These fruits have the same characteristics as human flesh. By doing the test, you will determine if you have assembled your entire machine correctly so that you don’t damage real skin.
Step 7: Create a Tattoo
Create an outline to ensure you will stay close to the lines to have a great-looking tattoo. Start by pushing the tattoo needle into your skin.
During the tattooing process, you need to tattoo the correct depth. You should know that human skin has three layers.
The dermis [2] is the middle layer, where the ink flow will remain and should be the targeted depth during the application of tattoos. If you go deeper, you damage a deeper layer of the skin.
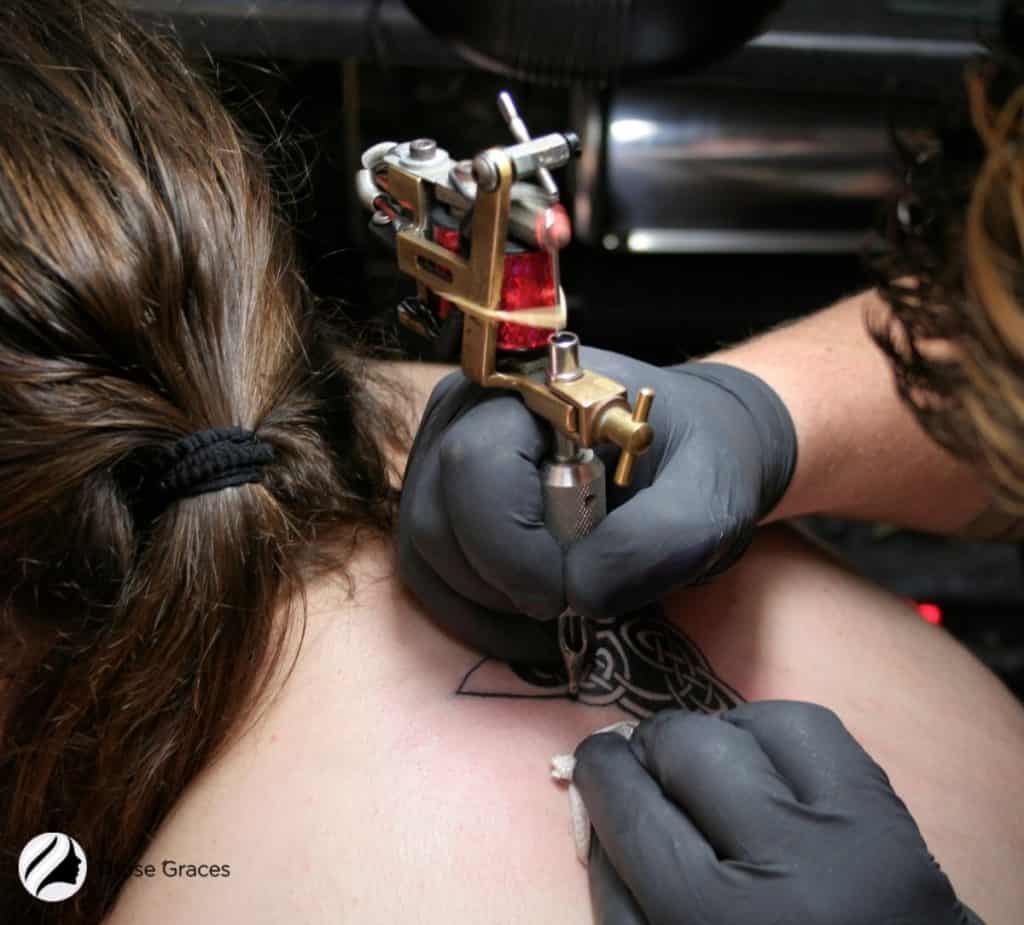
Once you put the needle in the right position, start moving the gun down the outline. Move the needle slowly to avoid mishaps or injuries.
You should hold the machine on the needle tube like you hold a pen. Make sure that the tattoo gun is over your hand.
Check these tattoo machine holding techniques.
Avoid putting a lot of pressure and keep your hands steady since the machine vibrates during the tattoo sessions.
After creating the tattoo, clean the excess ink. Allow the tattoo some time to allow the inflammation to calm down.
Watch this step-by-step video on how to use a tattoo gun.
How to Put Ink in a Tattoo Gun
To put ink in your tattoo gun, start by putting on latex gloves. Put the needle tube and the needle into the machine. Then, attach the tattoo machine to the power supply and clip cord.
Put the correct number of disposable ink caps for your tattoo. Each basic color for your tattoo should have a distinct ink cap. Fill the ink caps with ink. Don’t touch the rim or inside the ink cap.
You should dip the tattoo needle in a solid color for your outline. Press down the tattoo machine foot switch to allow the needle to move in and out of the needle tube.
This helps get rid of excess ink that clogs the tube. Now clean the excess ink off the bottle to ensure that the dried ink doesn’t clog the tips.
It is good to note that you should use approved inks to avoid using some that can cause skin issues. Some inks can make the skin look scaly or bumpy.
Tina Alster, a dermatologist at Georgetown University Medical Center in Washington, D.C., says, “This is also due to inflammation and irritation [in response] to the tattoo inks, […] It may even indicate infection [3].”
So, make sure the ink doesn’t have harmful ingredients that cause adverse effects on the human skin.
Here is a video on how to put ink in a tattoo gun.
Is it Hard to Use a Tattoo Gun?
No. It is not hard to use a tattoo gun. All you need is a firm grip, intense focus and a steady hand to get amazing tattoos. You should also pay more attention to the correct hygiene practices.
FAQs
What number should the tattoo gun be on?
How far should the tattoo needle stick out?
Do you push or pull when tattooing?
Conclusion
As you can see, learning how to use a tattoo gun is easy. It’s something you will be able to do without a lot of hassles or stress.
Using a tattoo gun requires you to master how to assemble the components and a firm grip when using it. Observe all the proper tattooing practices, and you will become a professional tattoo artist.

Do you have other tips on how to use a tattoo gun? Please share below!
References
- 1. Riley L. The Social Worlds of Tattooing: Divergent Sources of Expertise [Internet]. Master’s Theses. 2012 [cited 2022 Mar 8]. Available from: https://ecommons.luc.edu/luc_theses/852
- 2. Rosenkilde F. Tattooed Skin and Health. J S, N K, W B, editors. Tattooed Skin and Health [Internet]. 2015 [cited 2022 Mar 8];48. Available from: https://www.karger.com/Article/FullText/369177
- 3. Pearce Stevens A. Tattoos: The good, the bad and the bumpy | Science News for Students [Internet]. Science News for Students. 2017. Available from: https://www.sciencenewsforstudents.org/article/tattoos-good-bad-and-bumpy