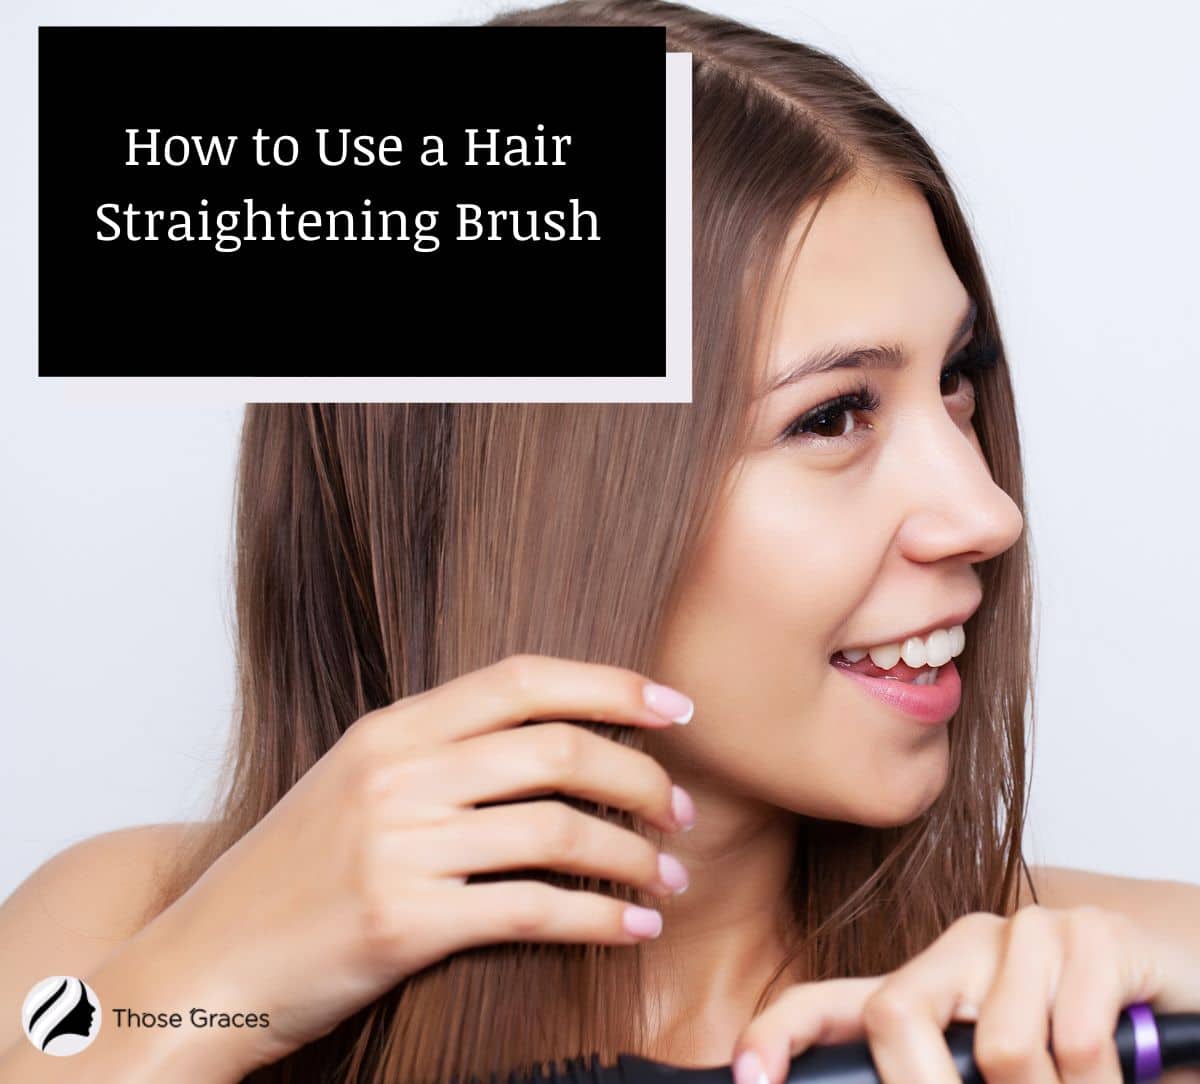
Ever wondered how to wield that magical tool called a hair straightening brush? Welcome to the realm of hair sorcery, where bad hair days are banished to the past.
Let’s embark on this whimsical journey together and turn those wavy or frizzy locks into smooth, runway-ready strands.
Grab your brush and your enthusiasm, because you’re about to become the hair-straightening wizard you’ve always dreamt of!
Table of Contents
Key Takeaways
- Preparation is Key: Always start with clean, dry, and detangled hair to ensure optimal straightening results.
- Protection Matters: Using a heat protectant shields your hair from potential damage and keeps it looking fabulous longer.
- Technique & Tools: Invest in a quality straightening brush and use the right temperature setting for your hair type.
9 Steps to Use a Hair Straightening Brush
1. Prep Your Locks
Darlings, always remember a good hair day starts in the shower! Clean hair takes the straightening game to the next level. [1]
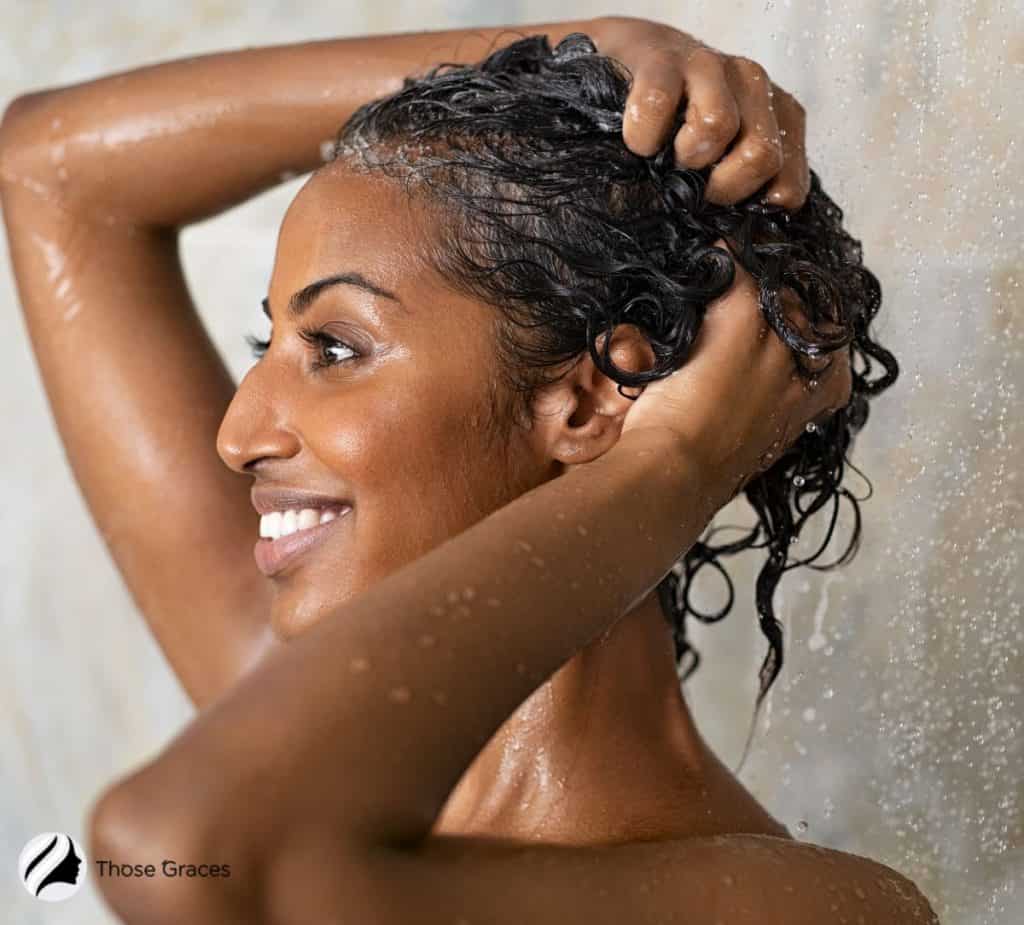
Once, after a spontaneous rain dance, my curls bounced back post-straightening, reminding me how water undoes the magic.
So, shower and shampoo before the straightening escapade to keep your hair looking chic and fresh for days!
As you explore the realm of hair care and tools, delve into our informative pieces on straightening brush vs flat iron, understanding how hot do hair straighteners get, and a guide to DIY hair straightening cream.
2. Give Your Hair the Shield It Deserves
Flashback to the day I skipped the heat protectant… never again! Whether it’s a serum, oil, or spray, your hair needs that protective barrier.

Yes, straightening brushes are gentler than those old school flat irons, but don’t skip this step.
I spritz protectant on my hands first, making sure I lavish those fragile ends before working my way up. This method keeps my roots from looking greasy!
3. Detangle Before the Heat
Don’t mistake your straightening brush for your regular brush! I learned that the hard way when I tried to tackle some fierce knots.
Always, always use a good ol’ hairbrush or a wide-tooth comb to smooth things out first.
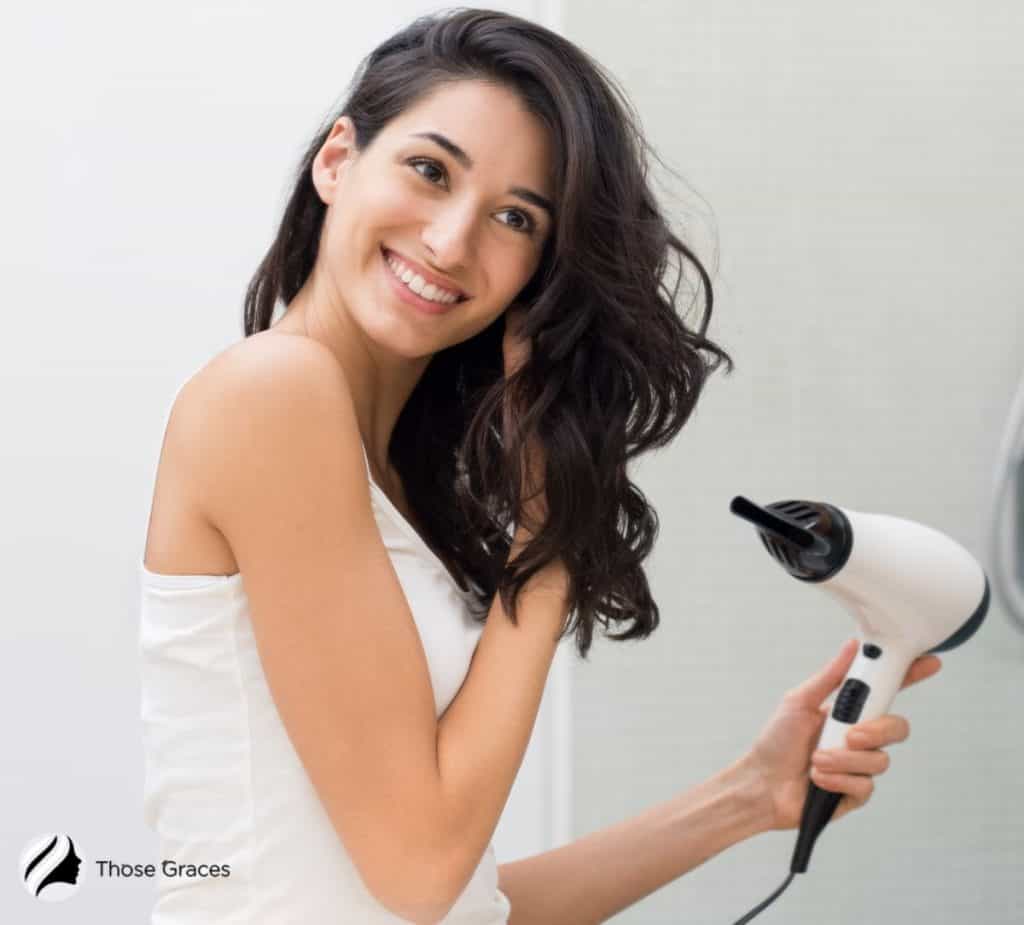
4. Dry and Ready
Once, in my rush, I used the straightening brush on slightly damp hair – big mistake!
Whether you’re an air-dry queen or a blow-dry diva, ensure those tresses are bone dry. Using a blow dryer? Try the comb attachment for some preliminary detangling.
5. Section and Conquer
Based on your hair type, sectioning is key! My thicker-haired beauties might need more partitions. My technique? Dividing into right, left, and back sections. Got hair clips? They’re your BFFs here.
6. Dial in the Temp
Power up your straightening brush and find your hair’s Goldilocks temperature. My tip? Always start at a lower temperature, especially for colored hair. Adjust as needed.
7. Glide and Shine
Grab a section, position the brush underneath at the roots, and glide! Keep those sections small. Too much hair?
If you can’t see the bristle tips, you’ve overdone it. I start from the back and move forward, channeling my inner salon stylist.
8. Lock in that Look
After your glamorous transformation, set your style! Here’s a beauty hack – some heat protectants double as setting sprays.
Talk about multitasking! And, always give your brush a quick wipe down after use; it’s like a spa day for your tool.
9. Longevity is Key
For those like me who don’t shampoo daily, the straight style holds longer. If you see some waves coming back, a quick touch-up does the trick.
Remember, start with the lowest heat setting and adjust as needed.
Here’s a tutorial video:
FAQs
Can I use a straightening brush on wet hair?
Is a heat protectant necessary if I’m using a straightening brush and not a flat iron?
How often should I clean my straightening brush?
Final Thoughts
We want to end up our discussion by giving you some pro tips, which are, if considered, will boost up the result very positively.
First of all, you ought to get a brush with tourmaline covering or ceramic plates and the bristle type is either nylon or boar.
These materials will in general heat up speedier as it kills flyaways and frizzes, leaving your hair delicate and smooth.
Furthermore, these bristles are commonly the mildest on your scalp and will not make your hair break.
A padded-handle brush will give you solace. If you ensure these, we guarantee that your straightening experience will be very satisfactory.
Source
1. Mazzone D. How To Wash Your Hair The Right Way in 6 Simple Steps [Internet]. Teen Vogue. Teen Vogue; 2017. Available from: https://www.teenvogue.com/story/washing-your-hair-wrong

![How To Curl Short Hair With A Straightener [10 Best Ways]](https://thosegraces.com/wp-content/uploads/2024/07/How-To-Curl-Short-Hair-With-A-Straightener-211x150.jpg)