Interested in learning how to make homemade tattoo ink? It’s actually a lot simpler than you might think.
You can easily make homemade ink at home with just a few ingredients, such as food coloring, glycerin, and vodka. The most important thing to remember is to sterilize your equipment beforehand.
In this guide, I’ll walk you through making your tattoo ink at home from start to finish. So whether you’re an experienced artist or just a newbie starting, this guide is for you!
Table of Contents
Key Takeaways
- Making your own tattoo ink is not as difficult as it may seem, as you only need simple ingredients and basic supplies.
- Make sure your pigment is high quality to avoid problems with your tattoo later.
- Before using them to make tattoo ink, remember to sterilize all equipment and ingredients.
READ MORE: How Long Does a Stick and Poke Tattoo Last?
The Advantages of Making Your Own Tattoo Ink
Learning how to make homemade tattoo ink can be daunting, but it has advantages. Let’s take a closer look:
1. You’re In Complete Control Of The Ingredients
When you make your own ink, you know exactly what goes into it. This is important as some people can have allergic reactions to certain chemicals found in commercially-made inks [1].
2. You Can Save Money
Making your own ink is cheaper than buying it from a shop. For example, a small bottle of tattoo ink can cost around $25.
But if you make your own, it would only cost you a fraction of that. As a tattoo artist, this can be a huge saving.
3. You Can Make Unique Colors
You’re not limited to the colors available commercially. If you want a certain shade that’s unavailable, you can mix your custom color.
The Disadvantages of Making Your Own Tattoo Ink
However, there are also some disadvantages to making your tattoo ink. Let’s take a look at a few of them:
1. It Takes Time And Effort
Making your own ink takes time and effort. If you’re in a rush or don’t have the patience, it’s probably not for you.
2. You Might Not Get The Exact Same Quality
When you make your own ink, there’s no guarantee that it will be the same quality as what you would get from a professional ink shop. This means that there’s a risk that your tattoo might not look as good or heal properly.
3. Can Cause a Faded Design
If you don’t mix the tattoo ink correctly, you can expect your tattoo design to fade, which is why it’s important to be precise when measuring the ingredients.
Now that we’ve looked at the advantages and disadvantages of making your own ink let’s move on to the supplies you’ll need.
Two Ways to Make Homemade Tattoo Ink
There are two main ways to make homemade tattoo inks:
- Dry pigment
- Wood ashes
With Wood Ashes
Wood ashes have a long HISTORY of being used as a tattoo pigment. This practice is thought to date back to the early days of tattooing when ash produced dark black ink.
These days, you can still find wood ashes used to make tattoo inks, albeit slightly different. Most modern inks contain soot, which is created by burning wood. The soot is then mixed with a carrier fluid, such as water or alcohol, to create an ink that can be used for tattooing.
You can make your wood ash tattoo ink at home if you’re feeling crafty. All you need is some wood ashes and a carrier fluid, and you’re good to go.
With A Dry Pigment Powder
Making your tattoo ink is a rewarding but challenging process. The most essential ingredient is the pigment, which can be TRICKY to the source.
One option is to use a dry pigment powder, which must be THOROUGHLY ground and combined with other ingredients to form a workable ink.
While this method requires more time and effort than a ready-made pigment powder, it can produce great results. The key to success is to start with high-quality pigment and take the time to grind it into a FINE powder.
With a bit of practice, you can create an ink that rivals anything available on the market.
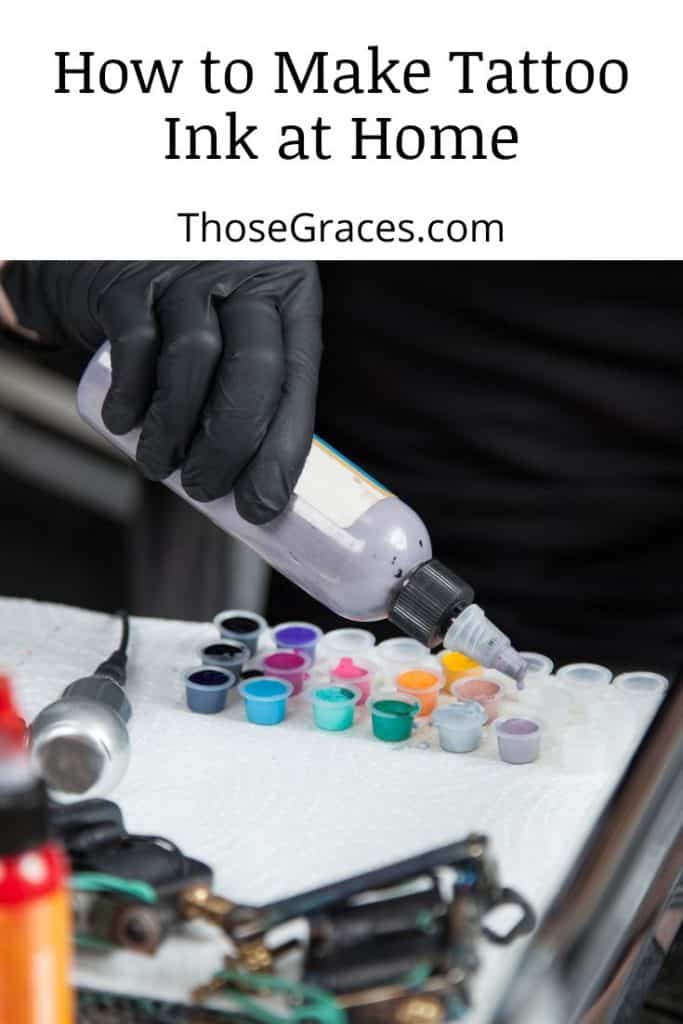
What You’ll Need to Make Homemade Tattoo Ink
Making tattoo ink at home is a fun and rewarding experience. But before you get started, you’ll need a few things:
- Pigment powder
- Carrier fluid
- Strainer
- Funnel
- Clean, dry sterile container
- Gloves
With these supplies, you’re ready to start making your own ink with the following ink recipes.
Pro Tip: If you’re using a dry pigment, wear a mask to avoid inhaling the dust.
How to Make Tattoo Ink Using Wood Ashes
Here’s a simple recipe for making tattoo ink using wood ashes:
- Start by sterilizing all of your equipment.
- Collect the wood ashes. You can use any wood ash, but hardwoods like oak or maple produce the best results.
- Add the wood ashes to a clean container.
- Pour in a carrier fluid, such as distilled water or alcohol. You’ll need enough to create a workable ink consistency.
- Stir the mixture until it’s smooth and free of lumps.
- Use a sterilized needle to mix the ink thoroughly before each use. Store it in a clean, dry place when not in use.
Pro Tip: If your ink is too thick, add more carrier fluid until it reaches the desired consistency.
How to Make Tattoo Ink Using A Dry Pigment
Making tattoo ink from a dry pigment is more challenging than using wood ashes. But with patience and practice, you can produce great results:
- Start by sterilizing all of your equipment.
- Source high-quality pigment.
- Grind the pigment into a fine powder using a pestle and mortar or a coffee grinder (or purchase pigment powder).
- Add the pigment to a clean container.
- Pour in a carrier fluid, such as distilled water, witch hazel, or alcohol (like vodka). You’ll need enough to create a workable ink consistency.
- Stir the mixture until it’s smooth and free of lumps.
- Use a sterilized needle to mix the ink thoroughly before each use.
Pro Tip: Try adding a small amount of glycerin to the mixture to help to bind the pigment and make for a smoother tattooing experience.
You can also check out this video.
Sterilizing Your Equipment and Ingredients
When making tattoo ink at home, the most important thing to remember is to STERILIZE all of your equipment and ingredients. This will help prevent infection and ensure that your tattoo heals properly.
There are a few different ways to sterilize your equipment. You can use boiling water, alcohol, or a UV sterilizer. Once you’ve sterilized your equipment, it’s time to move on to the ingredients [2].
The BEST way to sterilize wood ashes is to bake them in an oven at 400 degrees Fahrenheit for 30 minutes. This will kill any bacteria or contaminants that could cause problems later on.
Using a dry pigment, it’s important to source high-quality products from a REPUTABLE supplier. This will help to ensure that the pigment is free of contaminants.
CHECK: How Long Does Tattoo Ink Last?
Frequently Asked Questions
How Safe Is Homemade Tattoo Ink?
Should I Also Sterilize My Skin Before Using Homemade Tattoo Ink?
Can I Use Homemade Tattoo Ink If I Have Sensitive Skin?
Conclusion
If you’re interested in learning how to make homemade tattoo ink, always remember that sterility is critical.
Sterilizing your equipment and ingredients will help to prevent infection and ensure that your tattoo heals properly. Additionally, be sure to source high-quality pigment so that your tattoo turns out to look its best.
By taking the proper precautions, you can make tattoo ink at home that is safe and looks great.
Resources
- Jewell T. How to Identify and Treat a Tattoo Allergy. Healthline. Published January 6, 2021. Accessed November 16, 2022. https://www.healthline.com/health/tattoo-allergy#causes
- How to Sterilize Tattoo Equipment Without Autoclave. Our Pastimes. Published 2021. Accessed November 16, 2022. https://ourpastimes.com/how-to-sterilize-tattoo-equipment-without-autoclave-12479023.html