Did you know that I was once friends with a tattoo machine settings MASTER (Don’t tell anyone!)
One day I discovered a personal sticky note that he had left on the table by accident that read:
“Knowing how to switch between different settings is essential if you want to get the most out of your tattoo machine.”
By following a couple of tips, you will quickly learn all the dirty tricks and tips that professional tattoo artists hide…
Table of Contents
Key Takeaways
- You are fully responsible for handling your machine’s settings.
- Safety is always your priority.
- Depending on your needs, you can adjust your machine to either line or machine work.
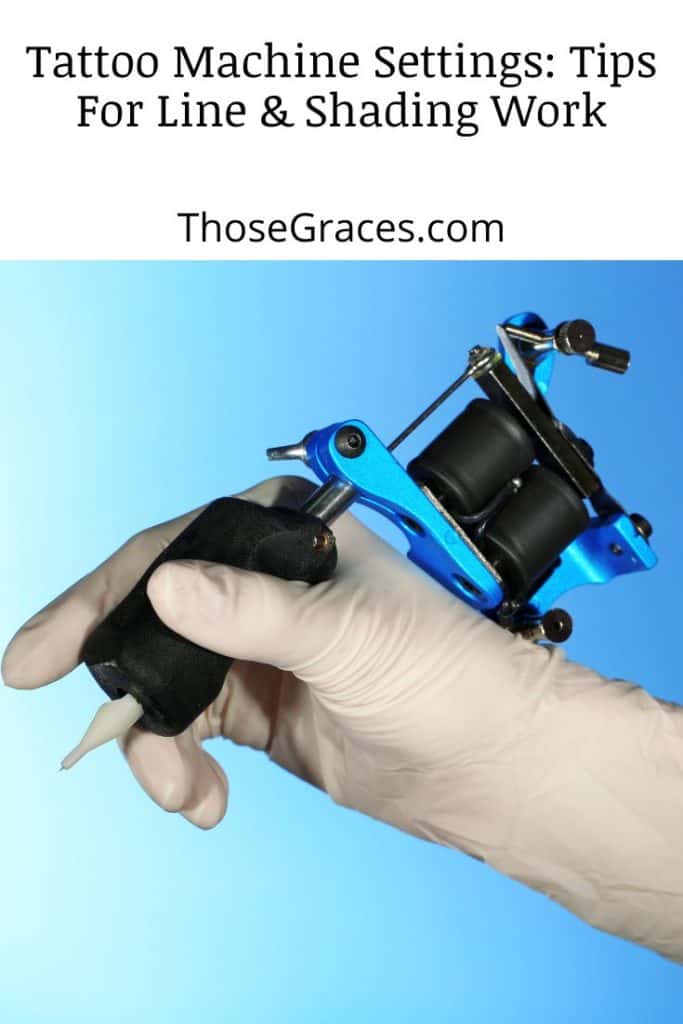
How to Change Tattoo Machine Settings for Line Work
Pre-step: Health and Safety
A ship has a Captain — and so does your machine. You are responsible for changing the settings on your machine and knowing the function of each button and part.
Are you feeling a little overwhelmed? If so, It’s best to leave this up to another professional tattoo artist, a licensed tattoo artist, or someone who knows their way around the machine.
You can always return to it when you feel more confident. But before you touch any settings, please follow these precautions:
- Start with a chemical disinfectant like alcohol and gently wipe the equipment over all surfaces.
- Next, please put them in an autoclave’s chamber and follow a verified procedure [1]. Autoclaves use a process called steam sterilization which will kill the extra layer of germs.
- Additionally, you may add an ultrasonic [2] to sterilize your equipment and eliminate all those nasty bacteria.
A little disclaimer: Always put safety ahead of everything. Any exposure to diseases could negatively affect yourself and your clients.
Yes, this means you might get sick. So be careful! Never handle sterile equipment with your bare hands, even if you’ve just cleaned them.
Also, remember to use gloves (you can use surgical latex or nitrile) when you do your work, especially when you’re tattooing.
Now that you understand safety, I will introduce the steps to changing your machine’s settings. Here we go…
Step 1: Adjusting The Armature Bar
You’ll find a relatively thick metal bar over the electrical coils. This bar is the armature bar.
Lower this bar by focusing on the distance between the armature bar’s frontal spring and the contact screw.
Turn this contact screw until its tip until you reach a 1 mm gap between the top and the armature bar’s front spring.
Step 2: Choosing The Correct Needle Tube
Make sure your tattoo gun is fitted with the correct tattoo needle tubing. Your needle bar goes into the tube.
Once that’s done, the needle bar’s end ring will go over the armature bar’s rubber grommet.
Use a rubber band to prevent excessive vibration and unwanted movements. You can do this by encircling the tattoo gun and the needle bar’s front side with a rubber band.
Now move on to inspect your needle. You can do this with a magnifying glass or a loupe – one of those fancy things jewelers will spend all day poring jewelry over.
You’re supposed to inspect the needle while lowering the armature bar. The needle that emerges from the needle tube’s tip must sync with the contact screw’s distance.
Step 3: Configuring The Speed
You need to configure your machine’s speed to suit line work. Inspect your machine to see if it has a digital display/digital screen that reads out the input voltage setting.
The correct operating voltage is 6 volts if you intend to line.
Here’s a fun fact: some tattoo artists will listen to the buzzing sound of the machine to figure out the correct voltage.
If you hear any clacking or poor signal, something’s wrong. Otherwise, you’re good to go!
Steady voltage means steady sound.
Step 4: Testing It Out
Now it’s time to test your needle to see if the tattoo gun performs its intended function: to line.
Turn the gun on and check what the needle looks like. It should appear to be moving as one column.
You will need to tighten the rubber band to ensure limited movement if you see ripples like the ones we see when looking at movement through an old camera.
Congratulations! You’ve changed the tattoo machine settings to lining!
How to Change Tattoo Machine Settings for Shading Work
For an excellent overview of doing shading work, you can consult the 3 simple steps below.
As an alternative, you are welcome to review this video on how to change the settings for shading work while in action:
Now, let’s go over the steps:
Step 1: Adjusting The Armature Bar
This time, configure the distance between the contact screw and armature bar to 2 mm instead of the 1 mm we did above.
Step 2: Choosing The Right Needle Tubing
Once again, you will need the right needle tubing meant specifically for shading purposes.
Repeat the steps above.
Secure the needle bar into the needle tube. Use a magnifier for inspection, then proceed with the rubber band and the tube, just like you did when we changed the lining settings.
Not so tricky, right?
Step 3: Configuring The Speed
Now adjust your device until you get the correct speed for shading. You will need a lesser rate for shading in comparison to line work.
This time, pay attention when you hear a deeper sound.
And there you go. You’ve managed to configure yet another setting — as if by pure magic!
READ MORE: A Detailed Guide on Tattoo Machine Setup
FAQs
How do you adjust the stroke on a tattoo pen?
Some rotary machines also have features that let you adjust the stroke. Or you can buy machines with different lengths of strokes.
What angle do you use when tattooing?
Think you’re sewing something except on your skin.
What voltage should a tattoo shader run at?
What happens if the tattoo is too deep?
Conclusion
So, there you have it: you can change your tattoo machine however you wish and transform yourself from a novice to an advanced tattoo artist.
I hope everyone who wanted to find a way to change tattoo machine settings found this article helpful.
You can do much with your equipment if you know the hows, the whys, and all the precautions.
Please stay safe. But most importantly, have fun!
Did you find the guide helpful? Don’t forget to appreciate us in the comments section!
Resources
- 1. Toi T. Autoclaves: Principles, Uses, Types and Procedures [Internet]. MES. 2020. Available from: https://www.mesaustralia.com.au/blogs/news/autoclaves-principles-uses-types-procedures
- 2. How to Clean Surgical Instruments Using an Ultrasonic Cleaner [Internet]. www.wpiinc.com. Available from: https://www.wpiinc.com/blog/post/how-to-clean-surgical-instruments-using-an-ultrasonic-cleaner
- 3. Lowe J. How to Give Yourself a Tattoo. The New York Times [Internet]. 2016 Nov 18 [cited 2022 Nov 26]; Available from: https://www.nytimes.com/2016/11/20/magazine/how-to-give-yourself-a-tattoo.html#:~:text=Migliaccio%20says%20you%20should%20insert