How to use hair straightening cream is undoubtedly one of the first questions that come to mind when you think of straightening your hair at home.
Using the cream is easy, but you have to do it right to get the best possible results.
In this article, you’ll see step-by-step how to use this type of product to produce celebrity-like straightened hair.
After speaking to many experts, I found this the best method, so let’s get started!
1. Choose The Right Hair Straightener Cream
You can agree that the best hair straightening cream is as important as the straightening process itself.
If you have slightly wavy or frizzy hair, I suggest you use a mild cream (such as the John Frieda Frizz Ease Straight Fixation Styling Crème), which can be used daily, resulting in silky, smooth hair.
On the other hand, for curly, suborn, or natural hair, it’s better that you adopt a super-strong cream such as Keratin Research Brazilian Keratin Blowout Straightening Hair Treatment.
The powerful active chemicals in it help relax your hair strands and allow for straight hair quickly.
2. Thoroughly Wash Your Hair And Rinse Well
Once you have the right cream for your hair type, start your hair straightening session by thoroughly washing and cleaning your hair. [1]
Hair experts recommend that you don’t apply styling cream on unwashed hair as the product will not as well, and it can actually cause hair damage.
It is a good idea to use a straightening shampoo. I recommend the OGX Ever-Straightening + Brazilian Keratin Therapy Shampoo to wash away debris and dirt from your hair locks and build an excellent base for the upcoming straightening process.
Experts, like those at Dove, recommend that you rinse your hair with warm water. [3]
3. Towel Dry Your Wet Locks
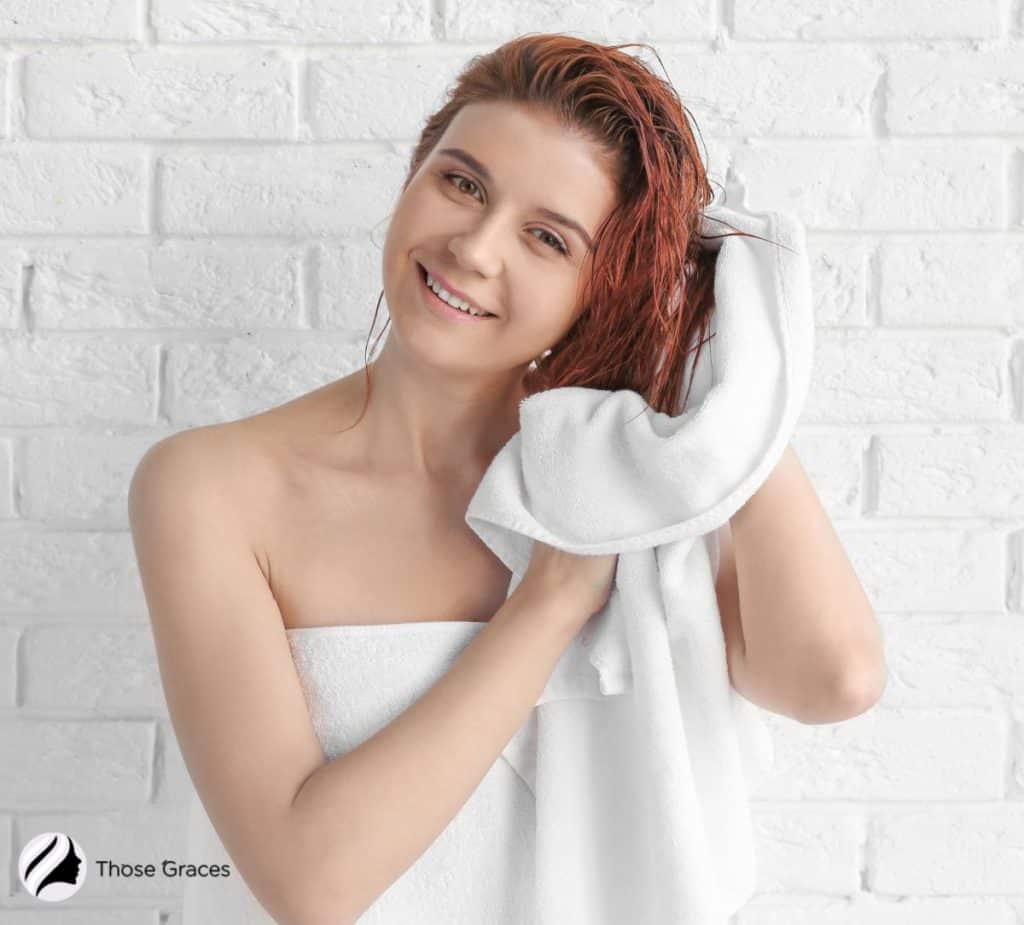
After you finish washing your hair, you need to towel dry it gently. Doing this gently will help prevent damage to all kinds of hair.
I like to use a microfiber towel to soak up any excess water so that my hair is lightly damp. I’ve found that damp hair produces the best results when applying cream hair products.
After you’ve soaked up an acceptable amount of moisture, lightly brush through your hair, making sure you get all knots and tangles out.
4. Divide Hair Into Small Sections
Don’t just start grabbing chunks of hair and start applying your hair cream.
First, you need to section all your hair into several parts. How many sections you need will depend on hair structure and length.
Using this method ensures a more even and consistent application of the cream, which gives you a better chance of making your hair straighter.
One great tip that I learned for making sections is to use a rat tail comb like this Scalpmaster Nano Rat Tail Comb. It allows you to create precise sections. It is one of my favorite must-have hair tools.
Finally, secure each section with a clip for easier hair shaft application.
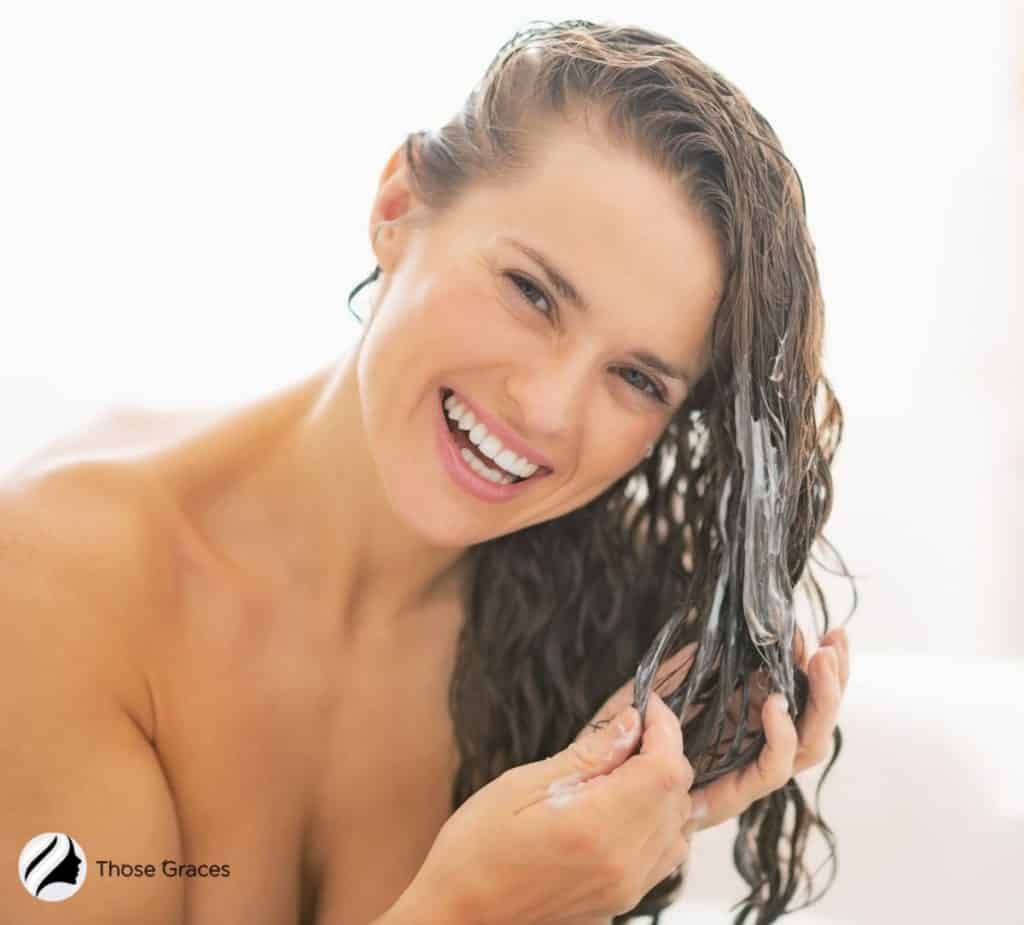
5. Apply The Hair Straightening Cream
Now it’s time for the most important step, applying the straightening cream.
Take a small amount of cream in your palm (you can always build it up if you need it) and apply it to the selected section of hair.
Start slightly away from your scalp, around 3/4 inches away from the roots, and work the cream out to the ends.
Run your finger through your hair to spread the product evenly.
Repeat the process to cover all your hair with the styling cream and comb through them again, distributing the solution throughout your locks.
6. Leave The Cream On Your Hair
Once you are done applying the cream, let it sit for 20-30 minutes, depending on the condition of your hair.
20 minutes is more than enough for sensitive, color-treated, or dry hair. However, you have to give the production process longer if you have thick, curly hair locks.
Remember not to put on any clips or lay down while the cream is still there.
7. Rinse The Cream Out Of Your Hair
After letting the cream rest on your hair for up to half an hour, it’s time to wash it off. Use lukewarm water and rinse until you are sure that every bit of the product is washed away.
Note: do not use a shampoo or hair conditioner at this stage.
Again using a microfiber towel (I prefer the DuraComfort Essentials Super Absorbent Microfiber Hair Towel), gently tap your hair and remove the excess water.
Do not rub the hair since it might damage the strands and cause potential hair loss. [2]
8. Blow Dry Your Hair
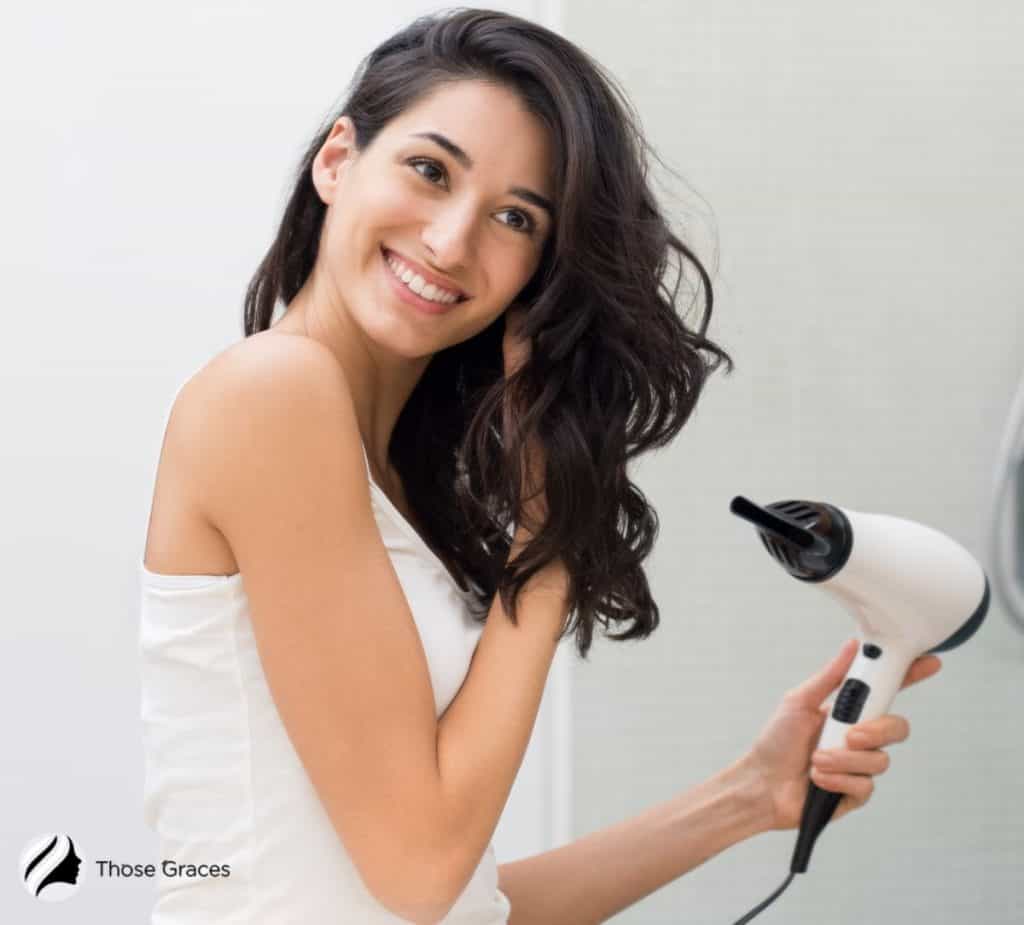
When your hair is damp, start drying it with a blow dryer.
While using the dryer (such as this Remington D3190 Damage Protection Hair Dryer), start pulling the hair strands with a round bristle brush to straighten them with a natural finish.
If you are aiming for more salon quality, pin-straight, smooth appearance, use a flat iron to straighten your hair after you are done drying them properly. This will help make your hair smoother.
Just be cautious not to overdo it to reduce the risk of heat damage.
I found this video really helpful for blowdrying tips! Check it out.
FAQs
When Should We Use Hair Straightening Cream?
Does Straightening Cream Damage Hair?
How Long Does Hair Straightening Cream Last?
Conclusion
I hope this guide has helped you answer the question ‘how to use hair straightening cream?’ While it does take up a good chunk of your time, it’s pretty easy.

![How To Curl Short Hair With A Straightener [10 Best Ways]](https://thosegraces.com/wp-content/uploads/2024/07/How-To-Curl-Short-Hair-With-A-Straightener-211x150.jpg)