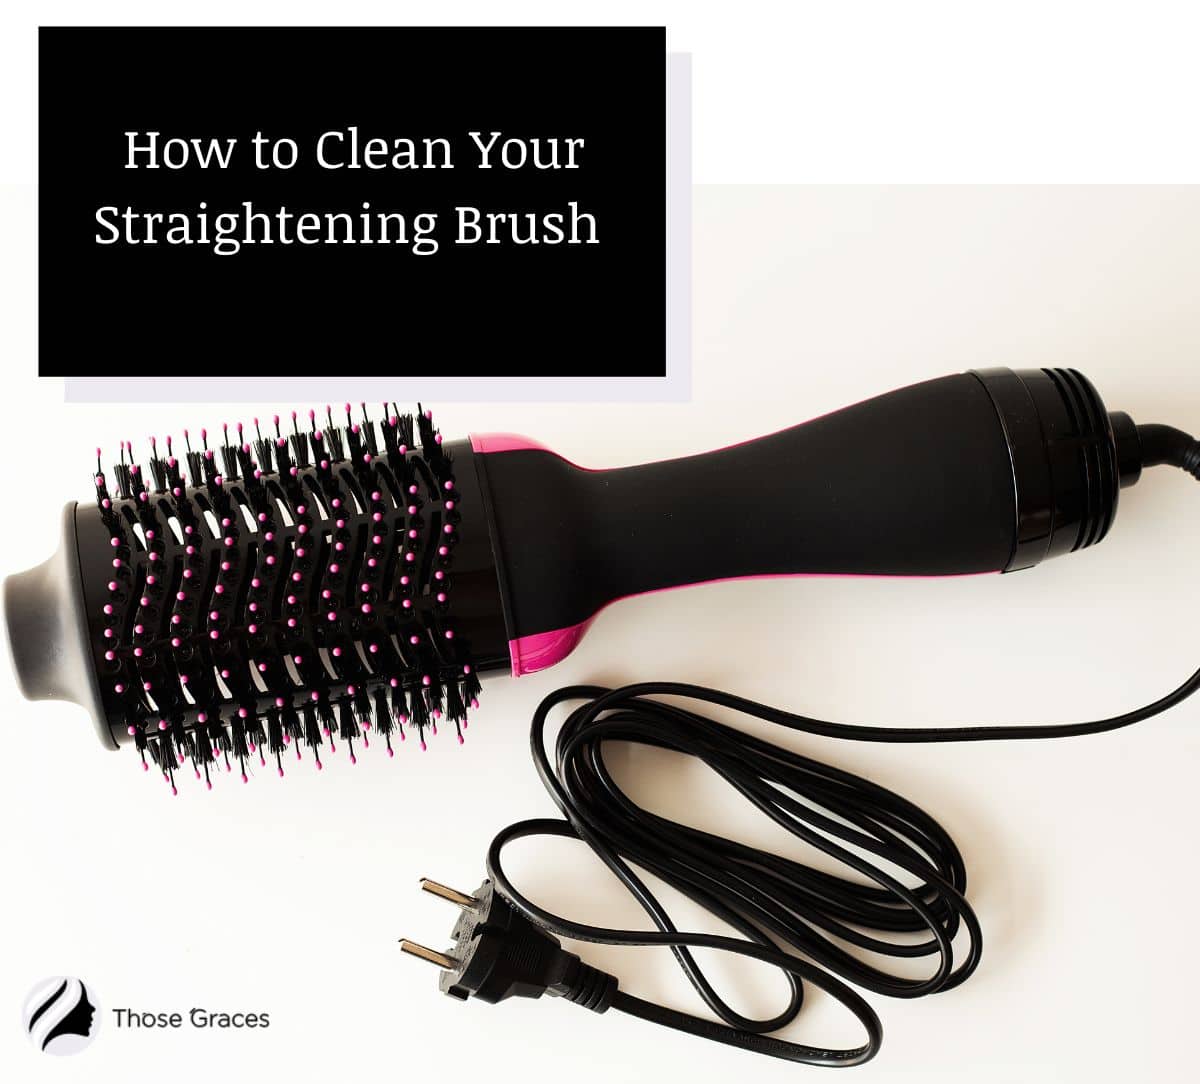
Diving deep into the world of hair tools, guess what I realized? Cleaning your straightening brush is the unsung beauty ritual we’ve all been missing out on!
Trust me, as a beauty enthusiast who’s ventured into every nook and cranny of glam, this little tip can transform your hair game.
Let’s swirl into this fun, bristle-filled journey together!
Key Takeaways
- A clean straightening brush enhances its efficiency, giving you smoother, frizz-free locks.
- Regular maintenance prolongs your brush’s lifespan, ensuring a great hair day every day.
- Simple household items can make the cleaning process effortless, letting your beauty tools shine and perform their best.
7 Easy Steps to Clean Your Hair Straightening Brush
1. Remove Strands Right Away
The first step is to remove all the strands from the brush. It is necessary because many strands are stuck in the bristles after every use. You will face difficulties while cleaning if you skip this step. But before that, ensure your heating tool is unplugged and not heated.
- Hold your hair straightening brush in one hand properly
- Pull up all the strands carefully by using a rat tail comb or a closed scissor
- Ensure that there remains no single strand.
2. Blow Dry the Straightening Brush
Some strands, dust, dirt, and buildups in the bristles are not easy to clean with fingers. A single blow of your blow dryer can blow those away.
This is effective when you have not cleaned the straightening brush for a long time.
Plugin your blow dryer and set it to medium speed and cool settings. Do not go for max speed, as it may generate heat
Give a proper blow dry all around the bristles of the brush
3. Use a Brush
Brushes containing thin bristles are good for cleaning because they are harmless, don’t scratch, and can reach the roots.
Do not use a toothbrush or any hard material for cleaning. You may also use pipe cleaners or dental flosses for this purpose.
- Clean your hair straightening brush gently by using a brush or pipe cleaner or flossers
- Clean all the spaces between the bristles thoroughly.
Seeking solutions for hair challenges? Dive into our articles exploring why is my hair fluffy after I wash it, tips on how to control frizzy straight hair, and our roundup of the best straightening brushes.
4. Clean With a Soft Cloth
Sometimes there are mounds of buildup and residue that are tough to remove.
So you need to clean your hair straightening brush using a small, soft fiber cloth if brushing does not work.
- Take a clean small fiber cloth and dampen it in the lukewarm water
- Wipe away all the areas of the brush properly with the cloth so that there are no dirt and buildups
5. Use Wet Tissue With Cotton Bar
Cotton buds (aka Q-tips) are of great use for cleaning hair straightening brushes, especially the brush plate.
This step can be an alternative if your brush is not properly cleaned following the previous step.
You have to use a wet tissue but go with something strong, like a double-layer Kleenex. Otherwise, it’ll fall apart.
- Dampen the tissue lightly with lukewarm water
- Wrap the wet tissue around a cotton bud
- Gently use it to clean spaces between the bristles
6. Use Cleaning Solutions
Cleaning solutions are any chemicals that clear the hairstyling products’ dirt, buildup, and residue.
So you have to choose the cleaning solution wisely so that it does not damage your brush. Rubbing alcohol or clarifying shampoo, or liquid castile soap can be good and mild cleaning solutions.
- Mix 1 or 2 drops of cleaning solution with lukewarm water
- Wipe away the dirt with a cotton bud or a hairpin wrapped by a small fiber cloth
Using a much cleaning solution at one time may cause damage to the brush. Instead, you may follow this step consecutively for 2 or 3 days unless you find a satisfactory result.
If still, this does not work; then it is high time you changed your hair straightening brush.
7. Let the Brush Dry
After cleaning, use your blow dryer or keep the brush in the sun for drying. We strongly suggest you not use the brush on the cleaning day.
Final Statement
First, you need to purchase a good-quality hair straightening brush. Secondly, you need to take care of it.
Hair experts suggest cleaning the straightening brush thrice in a month if you have to use the tool regularly because your styling tool can last longer through timely and proper cleaning. [1]
We have cleared all of your confusion about the cleaning process above. Now it is your turn. Follow the stated steps one by one.
For more tips, check out this video:
FAQs
How often should I clean my hair straightening brush?
Can I use household products to clean my hair straightening brush?
Is it safe to submerge my hair straightening brush in water?
Conclusion
All right, lovelies, as we wrap up this brush spa session, remember that every great hairstyle begins with well-maintained tools. Just think of it as pampering your brushes the same way you’d indulge in a spa day.
After all, if your tools are happy, your hair sings in joy, right? Ready to let your brush and hair shine brighter than ever tomorrow? 🌟
Resources
1. Exactly How Often You Should Be Washing Your Hair, According to Experts [Internet]. Cosmopolitan. 2023 [cited 2023 Aug 10]. Available from: https://www.cosmopolitan.com/style-beauty/beauty/g26000027/how-often-should-wash-hair/


![How To Curl Short Hair With A Straightener [10 Best Ways]](https://thosegraces.com/wp-content/uploads/2024/07/How-To-Curl-Short-Hair-With-A-Straightener-211x150.jpg)
