
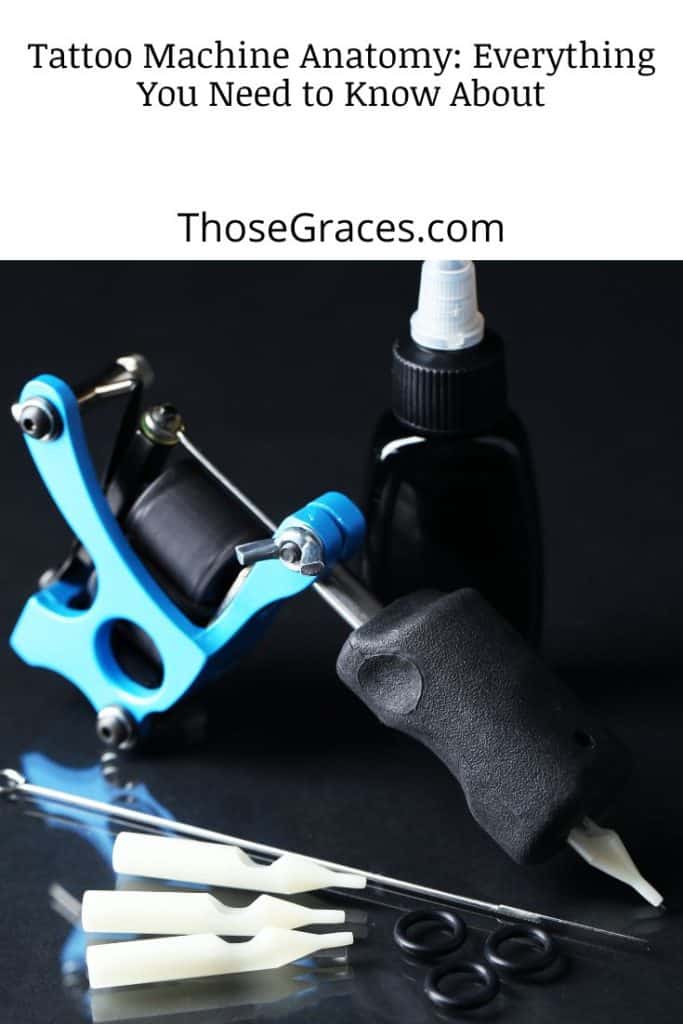
There’s more to a tattoo machine than just the tubes and needles, and understanding its anatomy is crucial in creating beautiful tattoos for tattoo artists.
Tattoo machines consist of several parts, including the frame, contact screw, coils, tube, and needle. Each part works together to create the perfect tattoo design.
This guide will teach you everything you need to know about tattoo machine anatomy and how to use it properly so you can create the perfect tattoo.
Table of Contents
Key Takeaways
- The components of a tattoo machine include a frame, needle bar, coils, etc.
- Each component has its own role in creating tattoos and interacting together during the application process.
- It is essential to properly maintain and care for a tattoo machine so that it can function safely and effectively.
Overview of a Traditional Tattoo Machine
Let’s begin with the traditional one to understand tattoo machine anatomy. Traditional tattoo machines are composed of a few simple components.
Its frame HOLDS all the parts together and helps with maneuverability during the application process.
The armature bar is connected to the frame and helps TRANSFER power from the coils to the needle, while the contact screw controls the speed at which electricity passes through the coils.
The coils and tubes are responsible for CONTROLLING how much ink is released during each stroke of your artwork.
Finally, once everything has been put together, it’s time to attach tattoo needles, depending on what design you plan to create. This part is essential as it’s what actually punctures your skin and deposits color beneath its surface, creating a permanent mark.
Anatomy of the Coil Tattoo Machine
The coil tattoo machine is slightly different from the traditional one because it has TWO coils instead of just one. This allows for a STEADIER and more consistent power flow to be transferred to the needle, allowing for greater precision when drawing lines or shading.
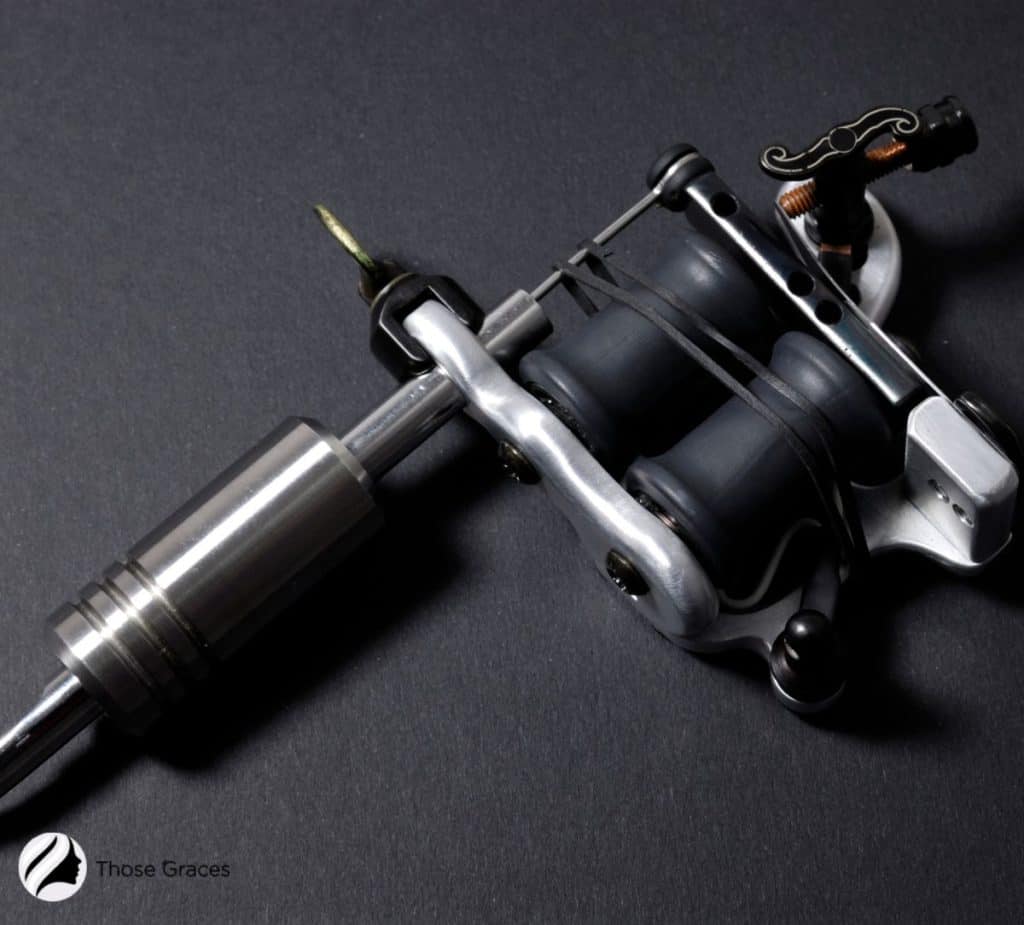
Coils are often made of copper, brass, or iron and are responsible for TRANSFERRING electricity reaching the needle.
A coil tattoo machine also has contact screws, which help CONTROL how much electricity is passed through the coils at any given time. This is important because too much power can cause your liner tip to vibrate excessively and damage your artwork.
Finally, a tube and needle are responsible for DELIVERING colored ink into the skin in coil machines.
Pro Tip: Assemble and disassemble each machine correctly to ensure that it works properly.
Don’t forget to check our guide on rotary vs coil tattoo machine for beginners.
Anatomy of the Rotary Tattoo Machine
The rotary machine is one of the most popular types of tattoo machine in the industry. It has a motor inside, which drives its needle up and down, making it easier to PRECISELY create detailed lines.
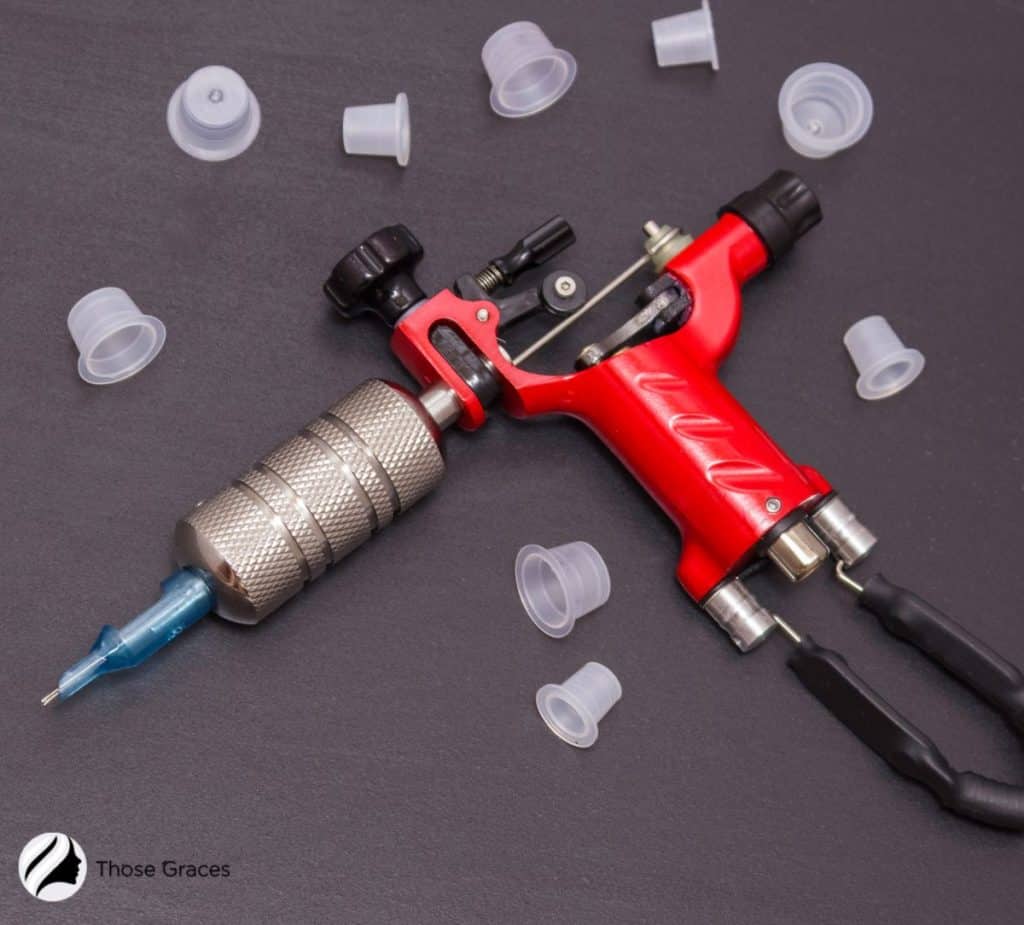
Rotary tattoo guns also contain a tube, needle, and armature bar, like the other two types of machines. However, instead of having contact screws and coils, these machines have a single-drive MECHANISM that allows for more consistent power transfer throughout the entire process.
Rotary machines are typically made from aluminum or brass, requiring LESS maintenance than coil machines due to their simpler design.
Pro Tip: Make sure all parts of your tattoo machine are regularly serviced and cleaned to maintain its quality.
Correct Needle for your Tattoo Machine
There are two kinds of needles that you can use with your tattoo machine: liner needles and shader needles. [1]
The liner needles are NARROW and usually contain three to five needles in a single tube. They’re used for lining and detailing work, allowing you to draw precise, thin lines when creating your designs.
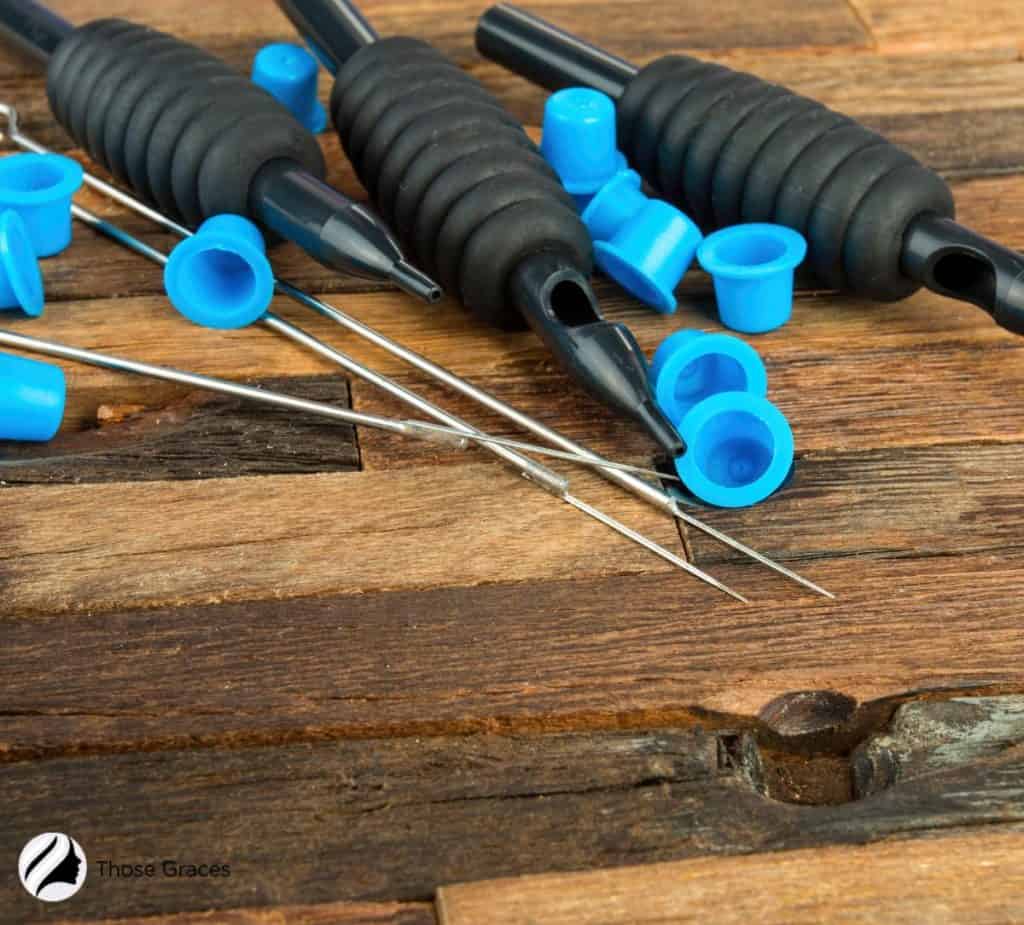
On the other hand, shader needles feature SEVEN or more needles in one tube, and they’re designed to create even shading, filling, or gradation effects. They can also be used to outline bolder shapes with thicker lines.
How To Use Tattoo Machines Properly
Now that you know the anatomy of a tattoo machine and how each part works, it’s essential to understand how to use your machine as a tattoo artist properly. Here’s how:
1. Read The Guidelines
First and foremost, it’s essential to read the manufacturer’s guidelines BEFORE using your machine.
This will provide you with INFORMATION on how to safely use and maintain your machine, as well as any additional information that may be helpful during the application.
2. All Parts Should Be Connected
Before beginning the application process, ensure all the parts are secure and properly connected. If there is any part that appears to be loose or damaged, it should be REPLACED before continuing.
3. Clean And Sterilize Your Machine
After each use, your machine should be thoroughly cleaned and sterilized with a high-quality disinfectant solution. [2]
This will reduce the RISK of cross-contamination and help maintain a safe working environment for yourself and your clients.
4. Warm Up Your Machine
It is essential to warm up your machine before starting a tattoo. This will help ensure that your power is consistent and evenly distributed.
5. Make Sure Your Hands Are Steady
When using a tattoo machine, it’s essential to keep your hands steady and ensure that the needle travels in a straight line. This will help PREVENT any unwanted marks or damage from occurring on your client’s skin.
6. Proper Hygiene
Additionally, practicing proper hygiene when working with a tattoo machine is essential. This means wearing gloves throughout the entire process and washing your hands thoroughly before and after each session.
It’s also essential to keep your work area CLEAN by wiping down surfaces and changing ink regularly.
This will help ensure your clients have an enjoyable experience free from any potential health hazards.
7. Proper Storage Of The Machine
It’s also essential to store your tattoo machine properly. This means keeping it out of the reach of children and away from any moisture or direct sunlight.
You should also cover any EXPOSED parts when not in use to prevent dust and other debris from settling into the internal components.
Proper storage will help ensure your machine stays in EXCELLENT condition for a long time.
8. Regularly Check For Damage
It’s essential to check your machine for any signs of DAMAGE regularly. Small cracks, scuffs, and other issues can quickly become more significant problems if left unchecked, so inspect your tattoo machine regularly to identify any potential issues before they get out of hand.
9. Tattooing No More Than 2 Hours
In addition, it’s also important to limit your tattooing time to no more than two hours. This will help conserve energy and prevent any fatigue or injury from occurring while you work.
10. Seeking Professional Help
Finally, if you ever experience any difficulty with your machine or have questions about how to use it properly, it’s best to seek professional help.
Your tattoo supplier should be able to provide INFORMATION and support on properly using their products. Additionally, they may even provide REPAIR services should any issues arise.
Don’t forget to check our guide on choosing the best tattoo machine.
Troubleshooting Common Issues With Tattoo Machine
When it comes to tattoo machines, a few common issues can cause problems during the application process that many tattoo artists experience.
Here are a few common issues and how to troubleshoot them:
1. Delay In Response Time
If your machine is delayed in response time, it could be due to the power supply being too WEAK or the needle not properly CONNECTED.
Check the power cord and make sure it’s securely connected. If necessary, try replacing the cord with a new one and see if that resolves the issue.
2. Ink Not Coming Out Evenly
If you’re experiencing an uneven distribution of ink during the application, check to make sure that all parts are properly CONNECTED and secure.
This may include checking for any CLOGGED parts or making sure that everything is properly lubricated.
Additionally, you can adjust the speed of your machine by turning up the voltage slightly. This should help even out the flow of ink.
3. Producing Too Much Vibration
If your machine produces too much vibration, it could be due to a worn-out motor or other INTERNAL components. In this case, it’s best to seek PROFESSIONAL help to diagnose and repair the issue properly.
It’s also important to check that all parts are securely connected and lubricated regularly to PREVENT further issues from occurring.
4. Not Producing Enough Power
If your tattoo machine is not producing enough power, you may need to adjust the voltage or replace any worn-out or damaged parts.
You should also check to ensure that all connections are secure and properly functioning. If the issue persists, it’s best to seek professional help to diagnose and repair it.
5. Overheating Of The Machine
Finally, monitoring your machine’s TEMPERATURE while in use is essential. If overheating occurs, you should STOP immediately and allow the machine to cool down before continuing.
It’s also a good idea to ensure that any internal components are kept CLEAR of dust or other debris that might cause the machine to overheat.
Pro Tip: Always make sure to use the proper protective gear while tattooing to protect your eyes, skin, and lungs from any potential hazards.
FAQs
Can I Buy Tattoo Machine Parts And Assemble My Own Machine?
Which Parts Require the Most Maintenance?
Can I Use Disposable Plastic Tubes?
What Is A Binding Post?
Conclusion
So there you have it! A comprehensive guide to the tattoo machine anatomy. Now that you understand how these machines work and their various parts, you can begin your journey into the world of professional tattooing.
Always take proper care of your equipment and practice safe tattooing procedures to ensure the best possible experience for you and your clients.
So, did you find the guide helpful on tattoo machine anatomy? Share your thoughts with us in the comments section!
Resources
- Barber DTS. Tattoo Needle Guide. Barber DTS. Published November 21, 2019. Accessed November 18, 2022. https://www.barberdts.com/uk/advice-hub/tattoo-needle-guide/
- How to clean your tattoo machine. Cheyennetattoo.com. Published 2022. Accessed November 18, 2022. https://cheyennetattoo.com/en/blog/how-to-clean-tattoo-machine

