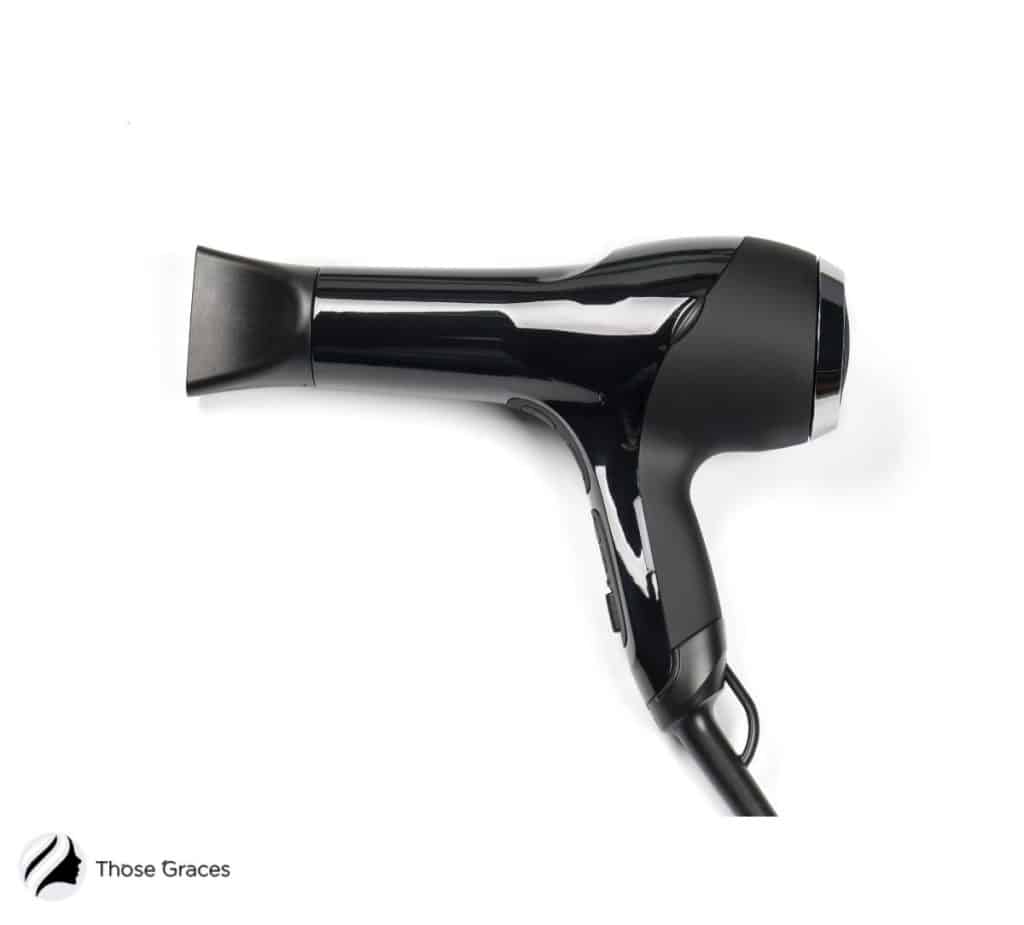
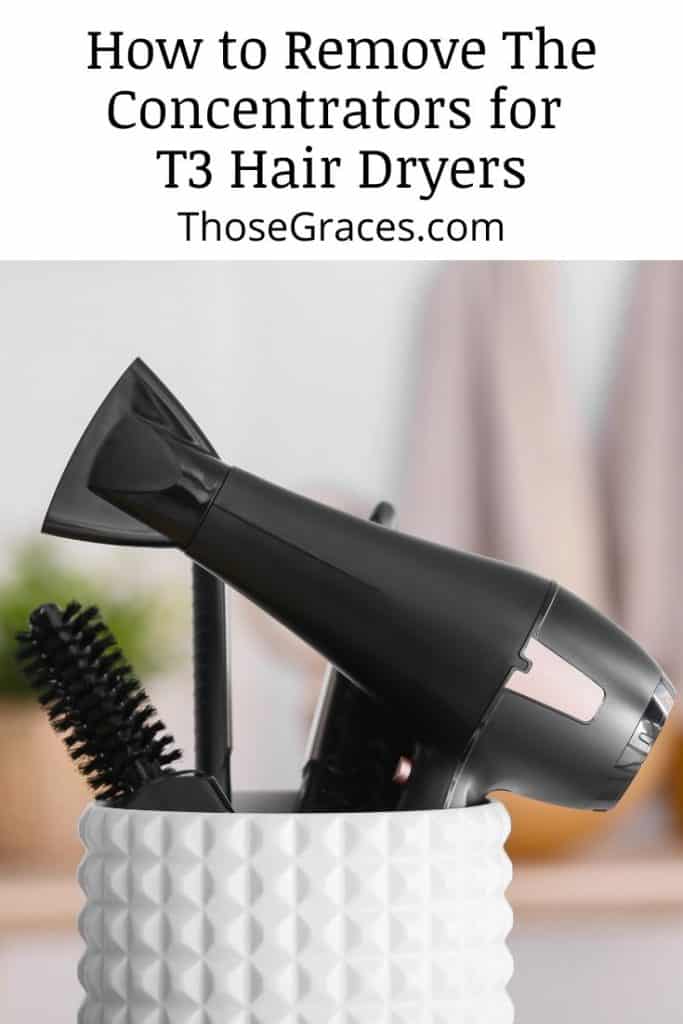
If you have a T3 hairdryer, you know how hard it can sometimes be to remove the concentrator.
Whether it’s cleaning or replacing attachments, you need to remove the concentrators for T3 hair dryers at one point or another.
Luckily, I’ve had quite a share of experience with T3 hair dryers, and I’ve shared several tips that I’m sure will be helpful to you.
Table of Contents
Key Takeaways
- Understand Parts: Get familiar with the T3 hair dryer, especially the concentrator at the end.
- Safe Removal: Turn off and cool down the device before gently twisting and pulling the concentrator.
- Avoid Force: If the concentrator is stuck, don’t force it. Try warming and cooling the dryer before reattempting removal.
How To Remove Concentrators For T3 Hair Dryers Easily
It is pretty simple; you need to -pull!
Yup! That’s about it.
The hottest dryers’ front end has no locks or buckles. So, there’s no need for you to worry about breaking your hot tool.
The construction of T3 concentrators is relatively straightforward.
The T3 hair dryer is popular because of its durability and can be used in various hair types.
It has three temperature settings, and when the temperature is increased to the second or third set, you get rid of frizzy hair [1] and get healthy, shiny hair.

The ultra-lightweight dryer also makes it easy to hold for more extended periods of time. Its key features include a 9-foot-long cord, powerful airflow, a lock-in cool shot button, and a removable filter.
The salon one-step hair dryer with adjustable settings attaches to the concentrator like key slides into a lock.
The vent of the hairdryer perfectly fits into the inner diameter of the T3 concentrator, making it stable enough for effortless drying.
But, frequently (quite rare but still happens), the attachment gets stuck around the front end of the hairdryer.
In such cases, you’ll realize that removing the attachment nozzle becomes somewhat tricky.
So, if you’re wondering how to remove the concentrators – for T3 hair dryers, here is a detailed stepwise process.
Just got those dreamy curls with a perm? Dive into our guide on How to Dry Permed Hair and keep those waves flawless. Wave hello to expert tips!
How To Remove Concentrators For T3 Hair Dryers: 2 Easy Steps
Removing concentrators is quite simple and can be done in less than a minute with these two simple steps.
Step 1: Remove Attachments
To take out the styling concentrator attachments, you need to pull the attachable nozzle in the downward direction.
At the same time, you need to make sure that you’re gently twisting the ergonomic handle.
Step 2: Release Hold
Release your hold of the head attachment to separate the concentrator from the T3 blow dryer.
If you’re still confused about how to remove the concentrators for T3 hair dryers, check out this YouTube tutorial video by T3micro:
Navigating the challenges of styling 4c hair? Dive into my article on “blow drying 4c hair” and discover expert tips to achieve a flawless finish without damage!
3 Factors To Consider When Removing Concentrators For T3 Hair Dryers
1. Make Sure To Unplug The T3 Hair Dryer
Before you begin unfolding and removing the concentrator like all heat tools,
ensure that you’ve unplugged the advanced professional hairdryer from the power source.
Also, make sure the cool-shot button is off.
This simple step could save you hundreds of dollars in purchasing a new air hair dryer.
2. Use The Correct Concentrator Size When You Reattach
Always practice caution when you purchase a brand-new nozzle for your favorite hair dryer.
The reason is there are various varieties of air concentrator attachment, afro comb attachment, and diffuser attachment that T3 lightweight dryers offer.

And you bet each of these concentrators varies in size.
It won’t work if you try to attach a concentrator meant for the PROi models inside T3 Featherweight or a concentrator from another manufacturer.
While we’re on the topic of hair treatments and tools, many often ponder, “Which lasts longer, Brazilian blowout or keratin?”
It’s essential to research and consult with a professional to understand the longevity and benefits of each treatment.
3. Consult A Professional In The Case Of Broken Concentrators
Figuring out how to remove the concentrators for T3 hair dryer is easy.
But when it comes to this type of attachment-compatible hair dryer, always remember that it doesn’t have parts that you can repair yourself.
Most hair dryers have a 2-Year warranty.
So for your and your tool’s safety and to avoid potential heat damage, I’d advise you to keep the inner mechanic locked inside.
And avoid tampering with the styling tool.
FAQs
How do you remove a hair dryer diffuser?
Hold still the diffuser’s front end and rotate the other end towards the drier.
How do you disassemble a T3 dryer?
Conclusion
Now you know how to remove the concentrators for T3 hairdryers but don’t forget to reattach them.
Almost all conventional hair dryers (my favorites are T3 Cura Professional Digital Ionic Hair Dryer & T3 Cura Luxe Hair Dryer) have a concentrator nozzle.
And you bet it’s all for unique reasons!
These attachments help target more significant amounts of concentrated airflow to specific areas.
It’s just as the famous award-winning hairstylist Anthony Nader says,
“Attaching a nozzle to the end of your hairdryer is one of the best things you can do for your blow-dry.
It targets the hair’s surface for healthy hair [2] and shinier hair.

If you have more tips on how to remove the concentrators for T3 hair dryers, please let us know in the comments below!
References
- 1. 5 Frizzy Hair Home Remedies, Plus Products and Prevention Tips [Internet]. Healthline. 2019 [cited 2021 Dec 21]. Available from: https://www.healthline.com/health/beauty-skin-care/frizzy-hair-home-remedies
- 2. Healthy Hair Every Day [Internet]. WebMD. [cited 2021 Dec 21]. Available from: https://www.webmd.com/beauty/keep-hair-hydrated


